Jeep was nice enough to finally install a cabin air filter on thier Jeep Wrangler models starting back in 2011 when they changed the interior up on the JK's. This does help on those long drives to keep the dust down when your on the trail on those hot and sometimes buggy summer days when you want to enjoy the air conditioning. This doesn't really help if you have the doors and top off, but it will keep some of the dust out of the ventilation system. Jeep recommends that you change this filter out every 20,000 miles. I change mine out more if I'm running the dusty trails down here in Florida.
| Parts: |
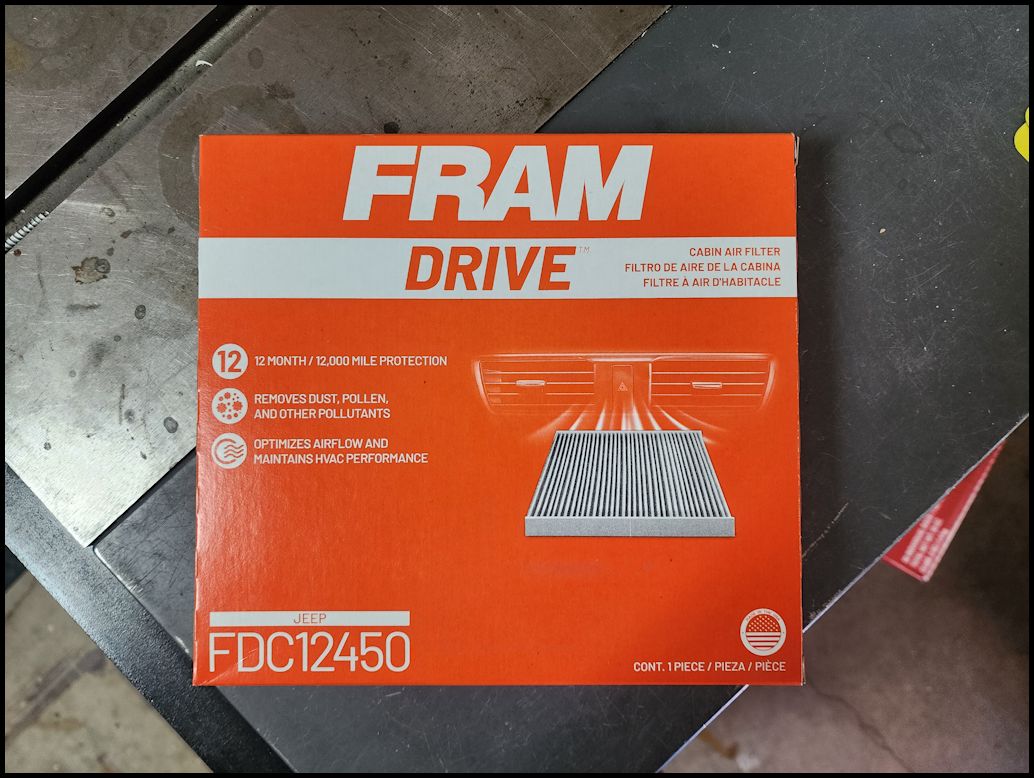
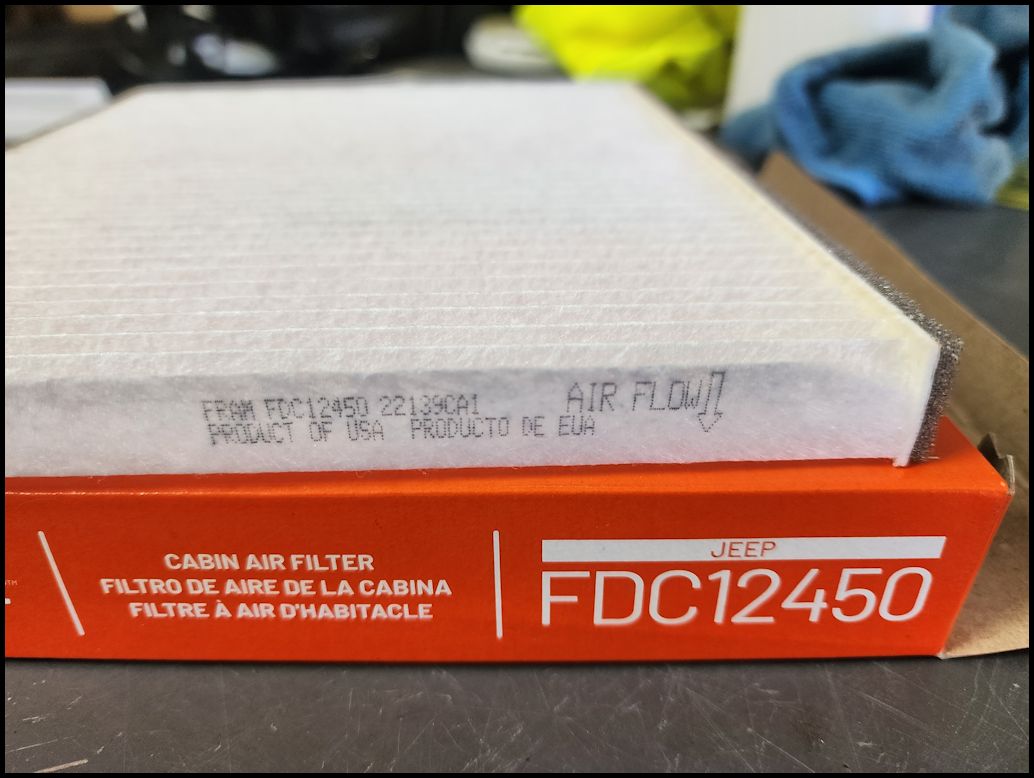
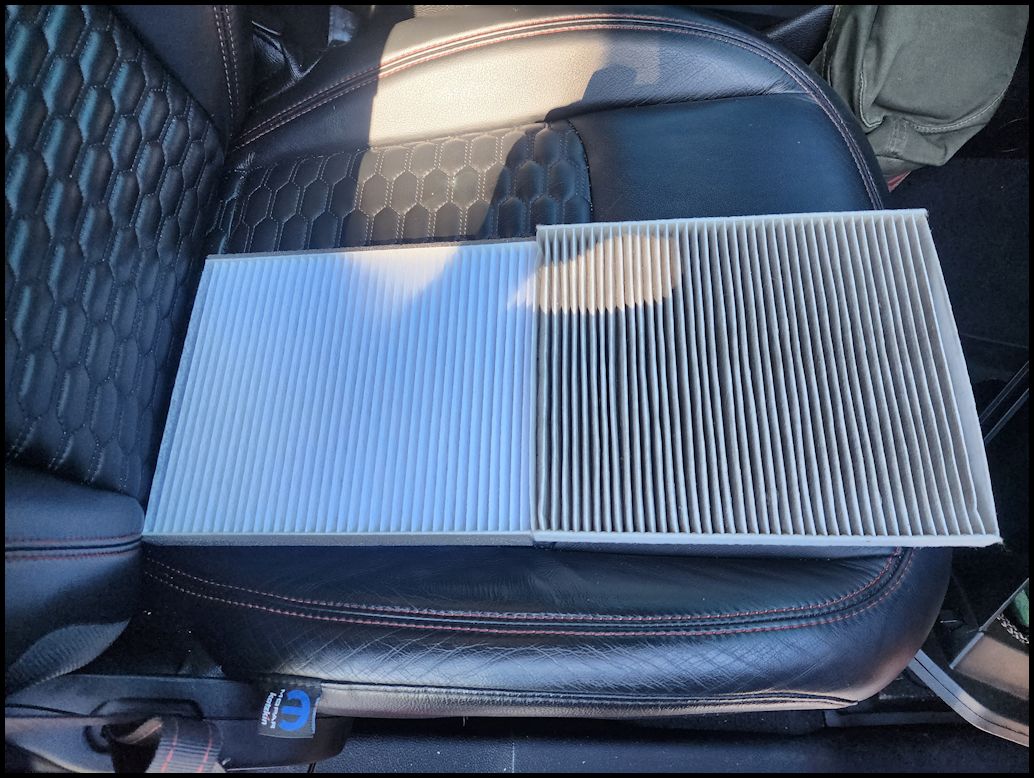
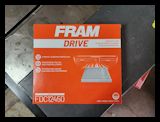
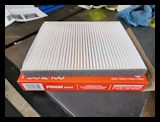
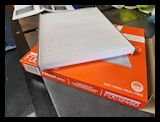
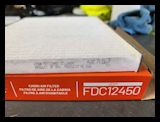
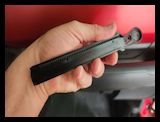
| I picked up a Fram filter from the local autoparts store to replace the 2 year old OEM filter that was currently in the Jeep. Jeep changed to a single filter sometime in the past and I found this to be a pain. You basically have to crush the filter down to get it into its housing. I prefer the old style 2 piece filters that went into the housing. I believe that K&N may be the only one that makes them as a 2 piece assembly. |
 |
 |
 |
 |
 |
| |
| Installation: |
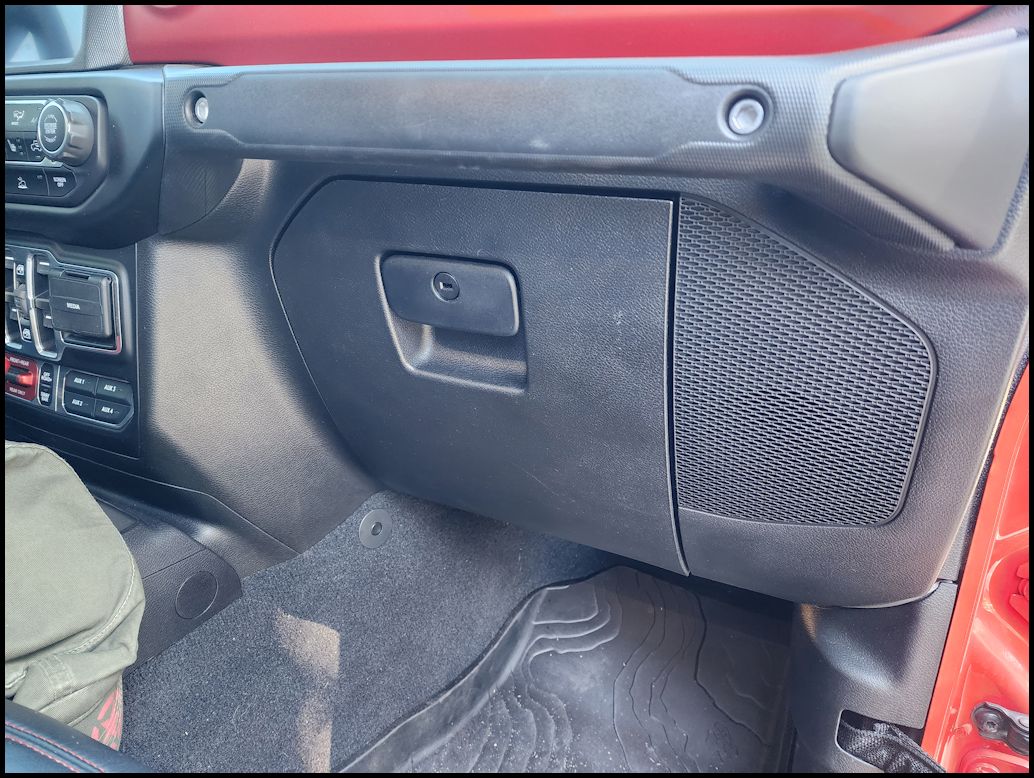
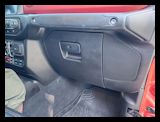
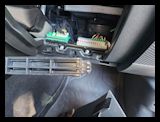
| The cabin air filter is located in the dash behind the glove box just like the previous JK's. Open the glove box. If you have heavy stuff in the glove box I recommend removing them from the box and setting them aside. |
 |
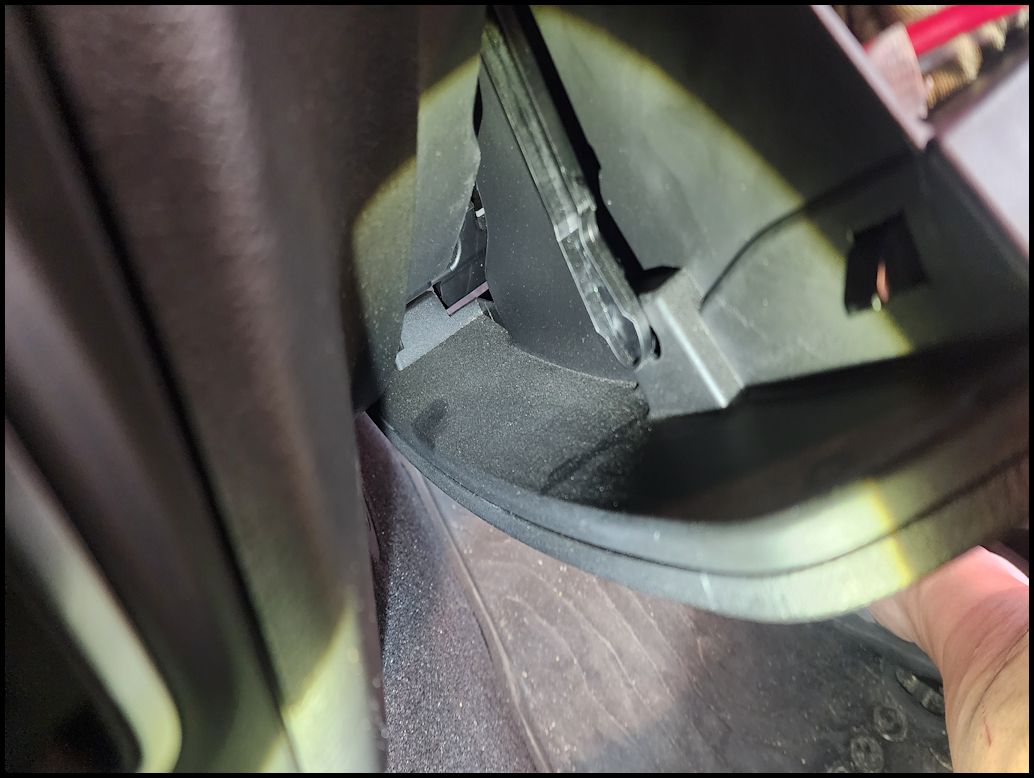
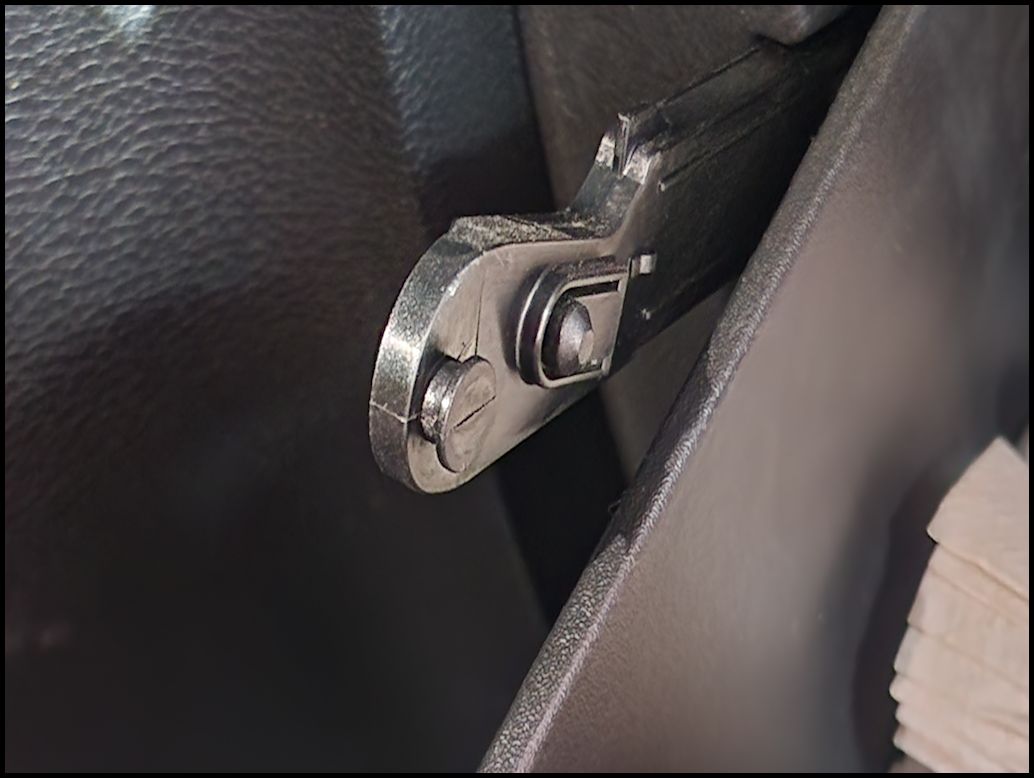
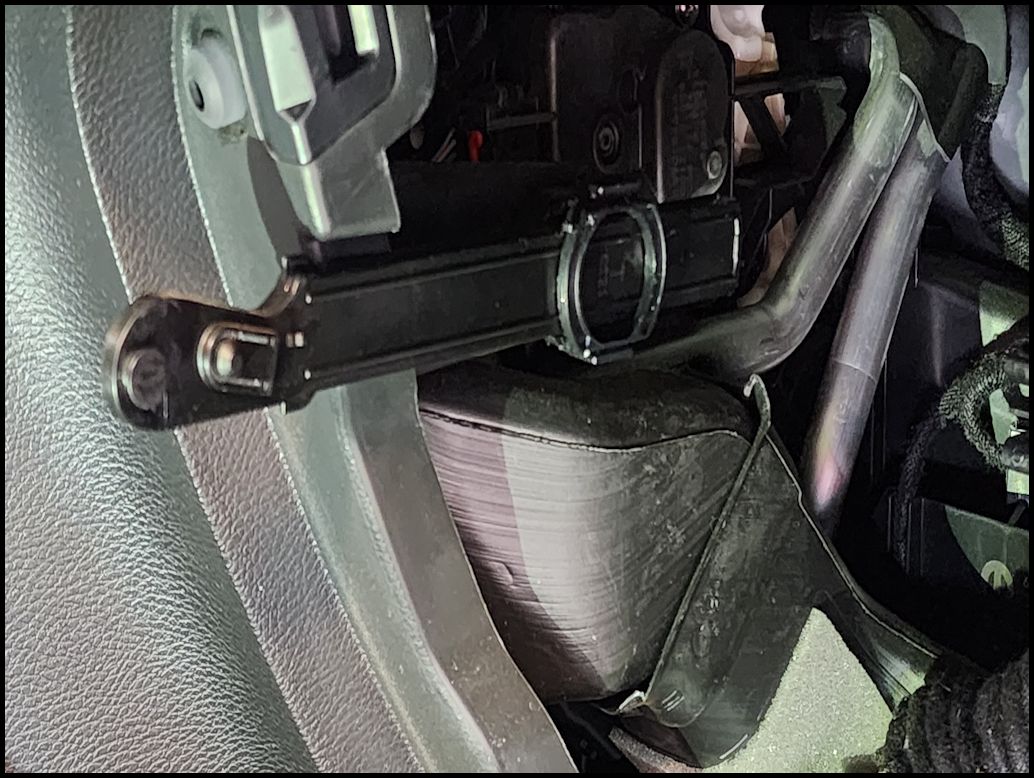
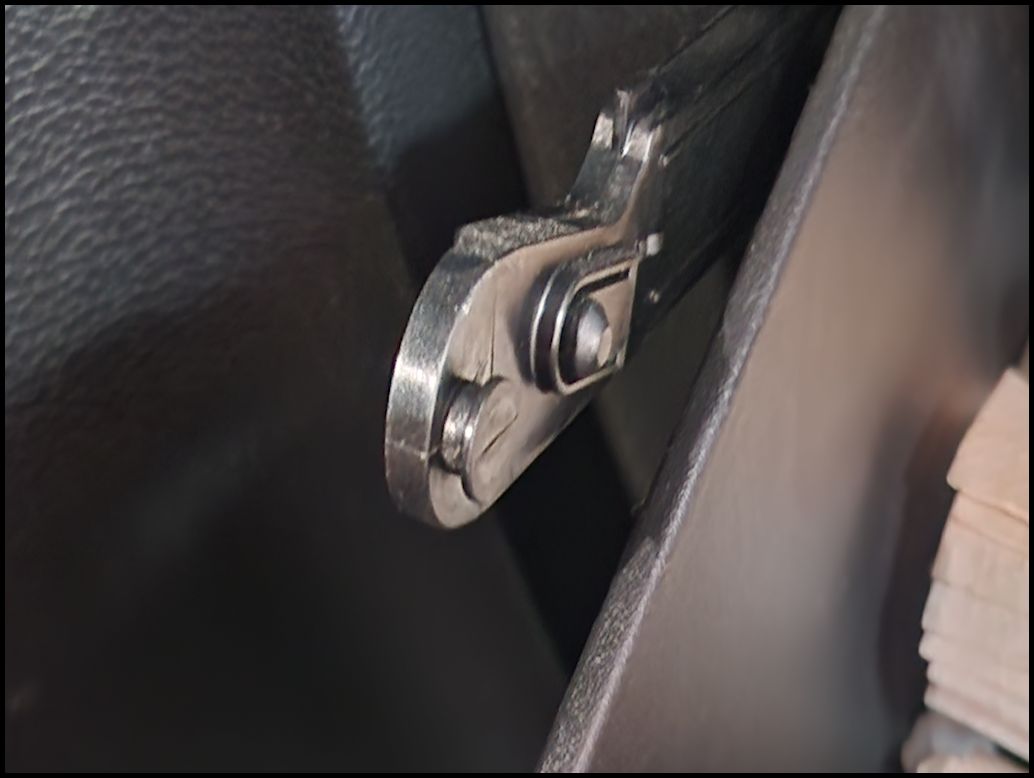
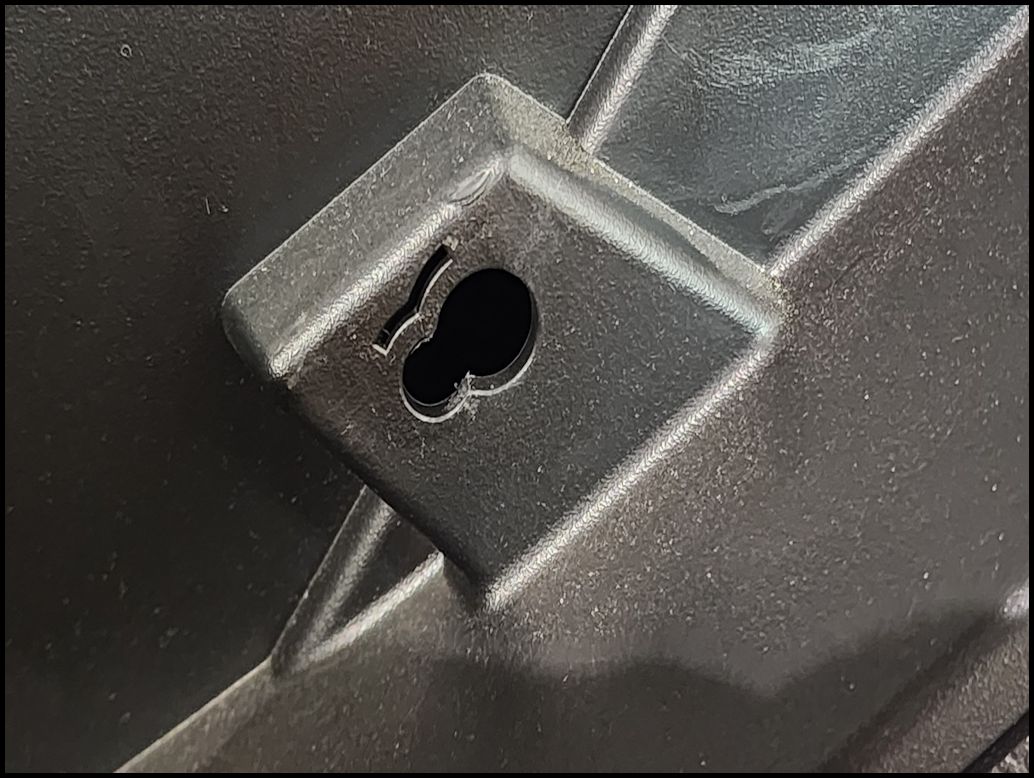
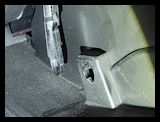
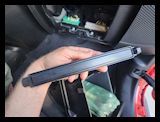
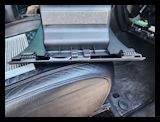
| On the left side of the glove box there is a soft open support lever that allows the glove box to open slowly vice just slamming open when you open it. You will need disconnect this from the glove box. Push up to release the pin from the slot on the glove box and then pull the lever pin out of the side of the glove box. |
 |
 |
 |
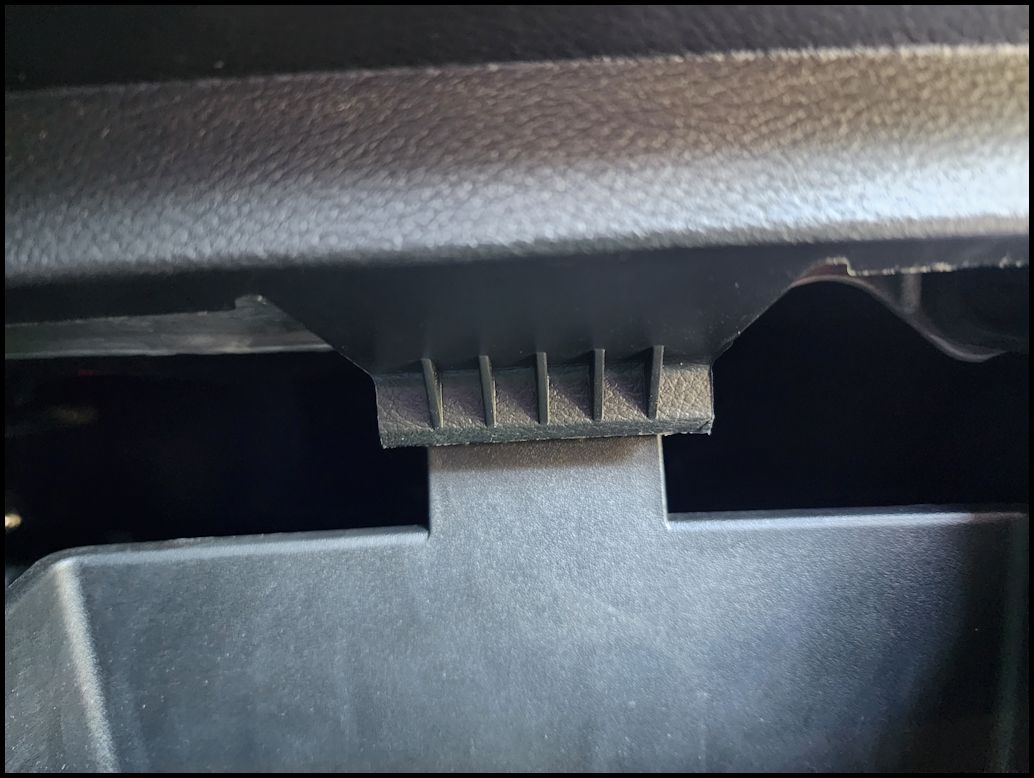
| Push up on the plastic tab in the back to release the glove box so it pivots completely open. |
 |
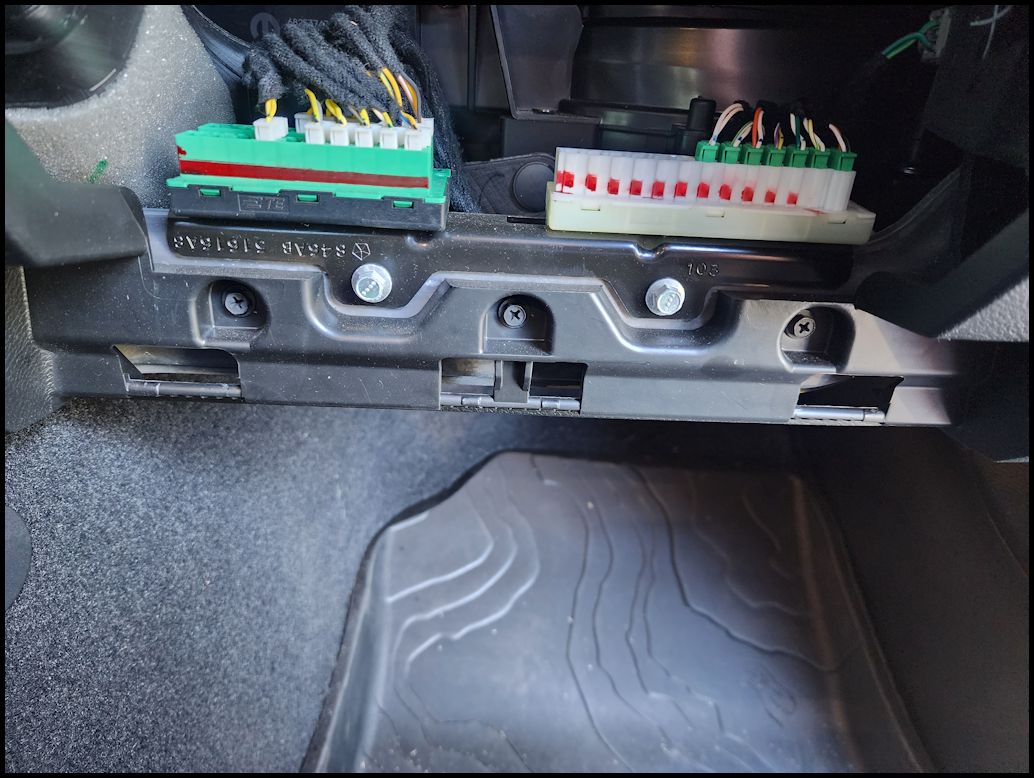
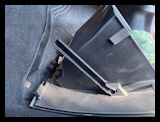
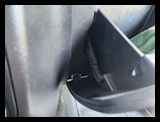
| Remove the glove box from the lower hinge point. I just pulls straight out once you get the angle correct. Or if you if you release the stop in the back without holding the glove box it will fall out of the hinge all by itself and spill everything in the footwell. |
 |
| |
| Quick Fix: |
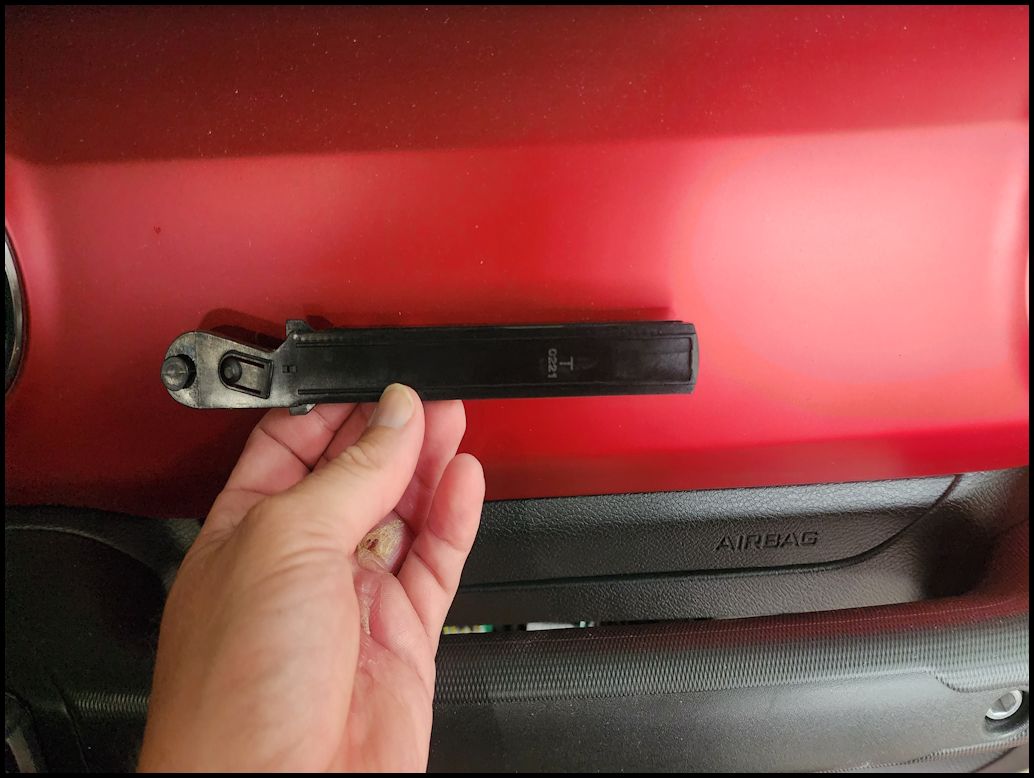
| If for some reason you didn't disconnect the soft open support lever on the side of the glove box and the box pulls out with it still attached, it's fairly simple to put back together. I accidentally pulled the lever out of it's holder in the back. |
 |
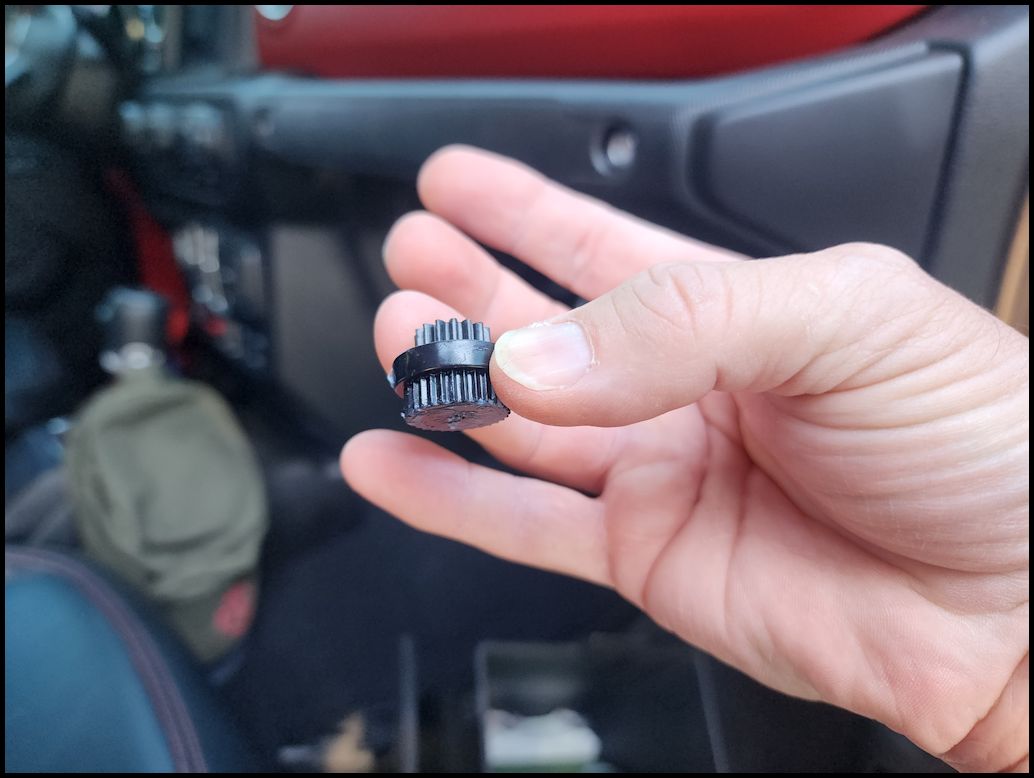
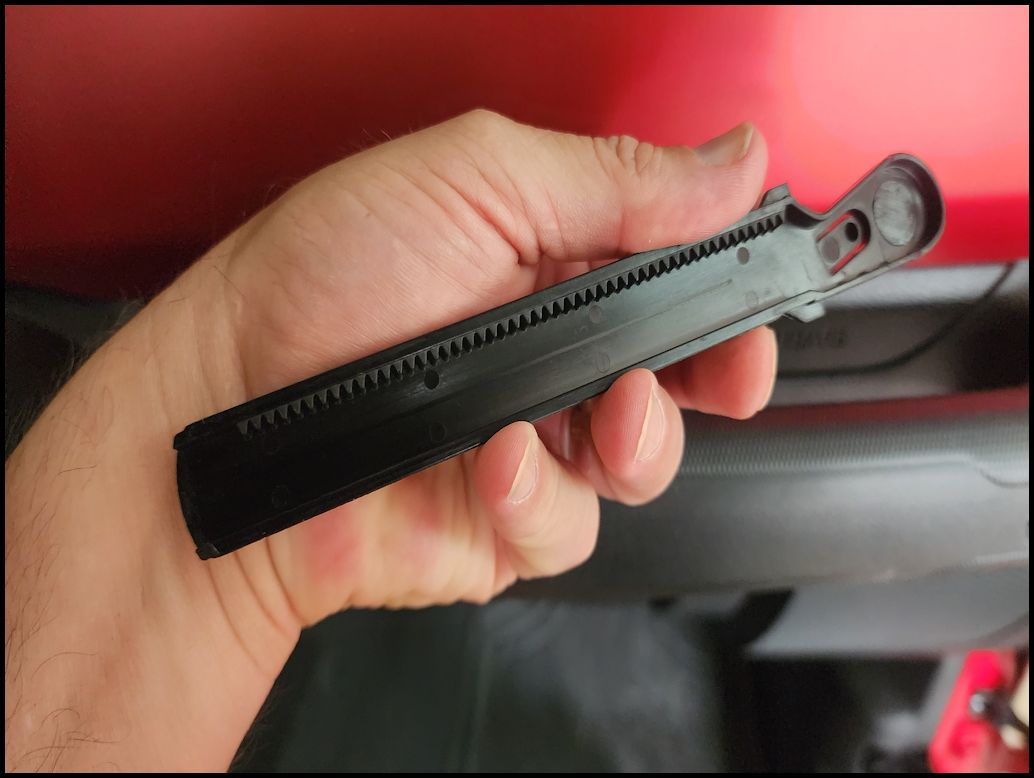
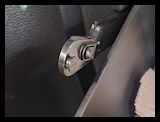
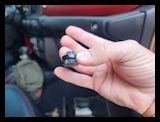
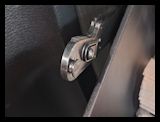
| The piviot point inside the dash has a small gear inside of it and a slot that the lever goes through. My gear came out and fell down inside the dash. I was able to find it, but I had to figure out what I was looking for. It is a small cone shaped gear |
 |
 |
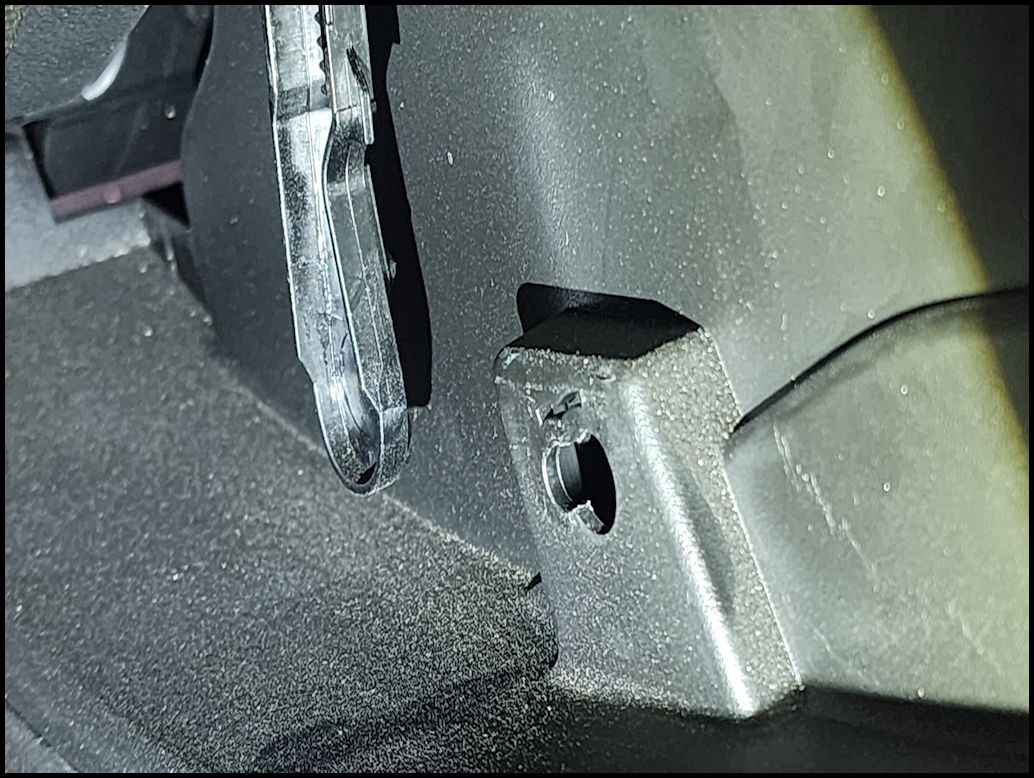
| Reinstall the gear in the housing. The larger side goes in first. |
 |
 |
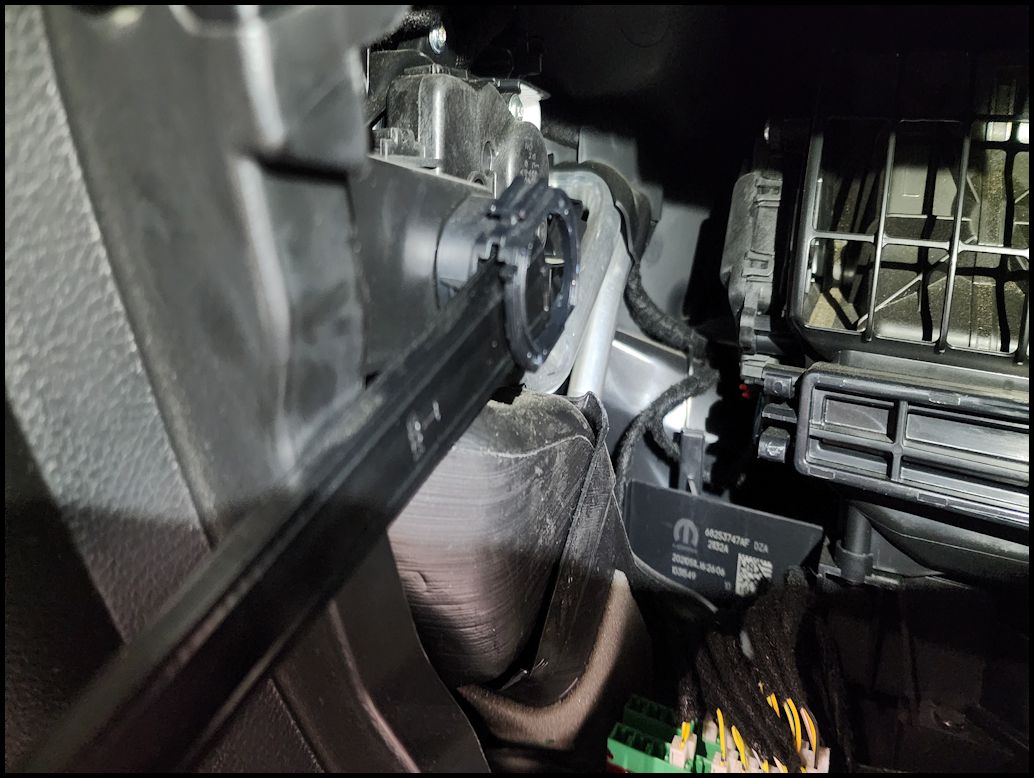
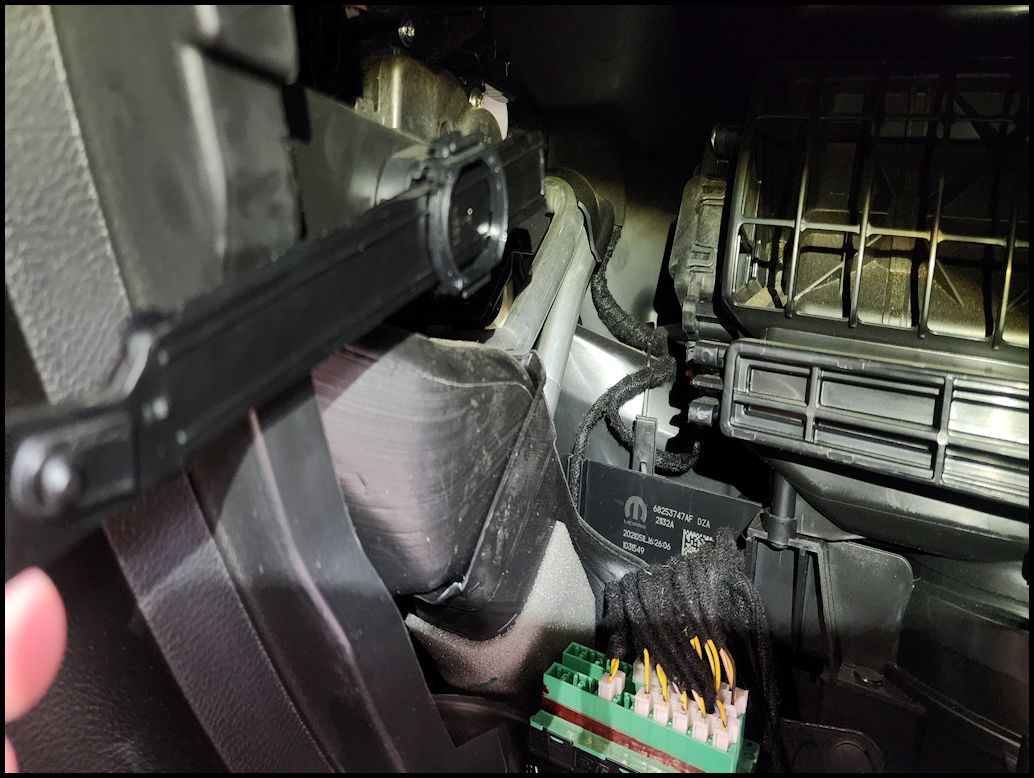
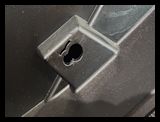
| Disconnect the lever from the glove box like above. The lever has a toothed section on the inside that will slide over the small end of the gear. |
 |
 |
| Slide it into the slot and over the small end of the gear. You will reconnect the lever to the glove box later. |
 |
 |
 |
| |
| |
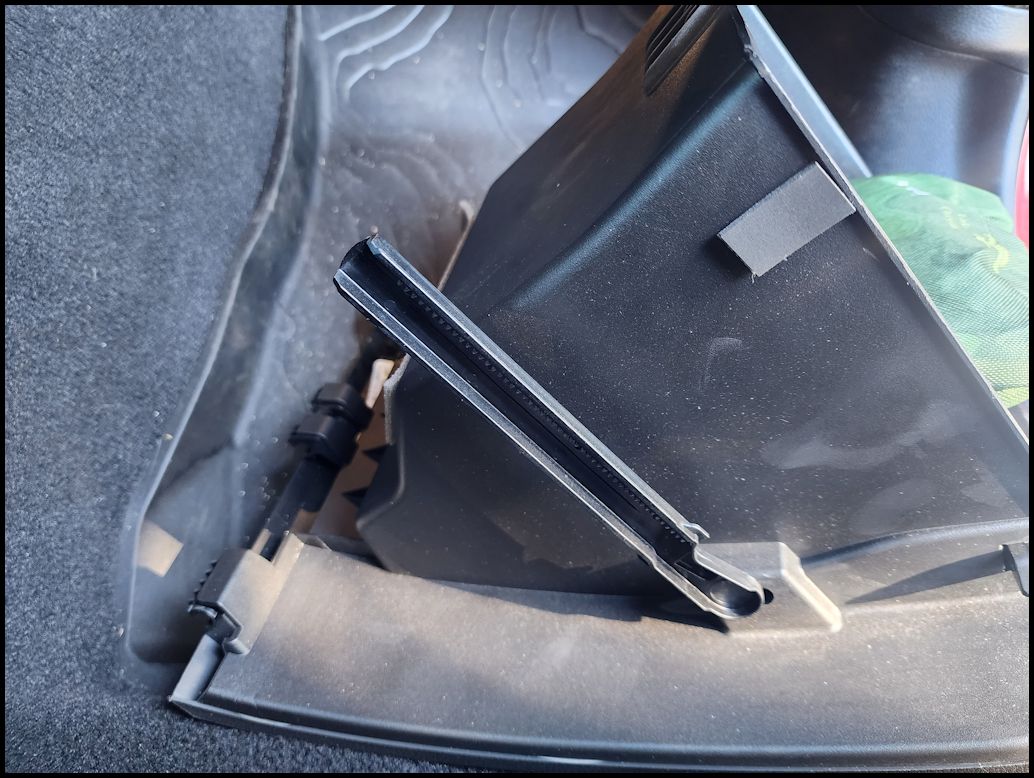
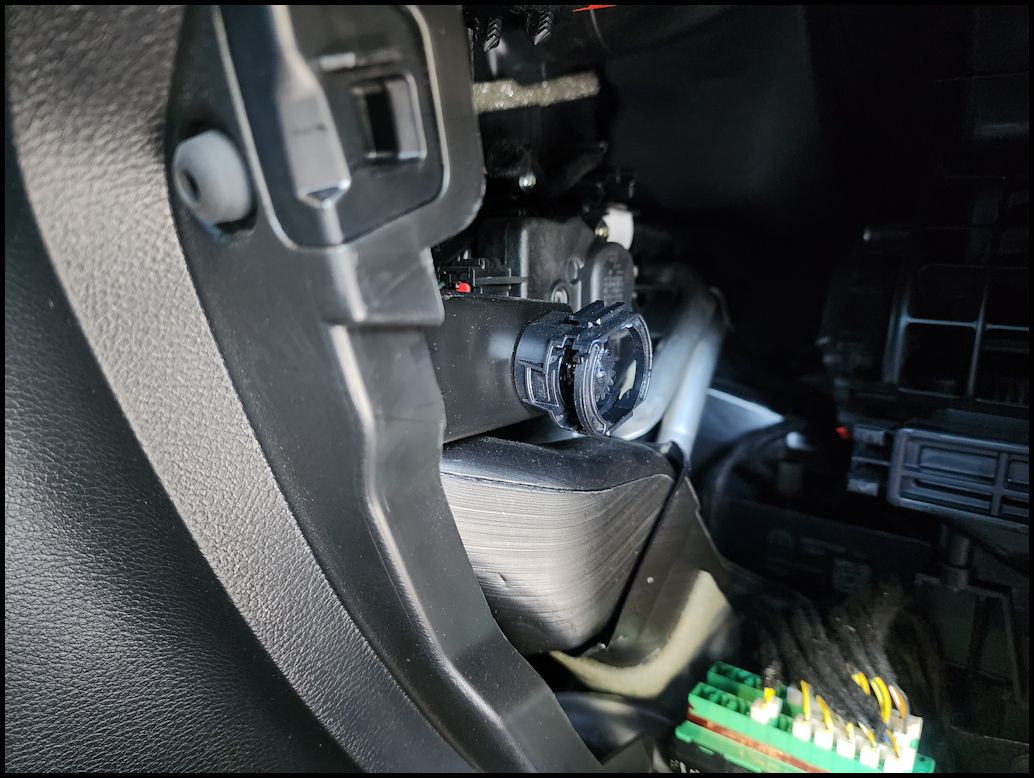
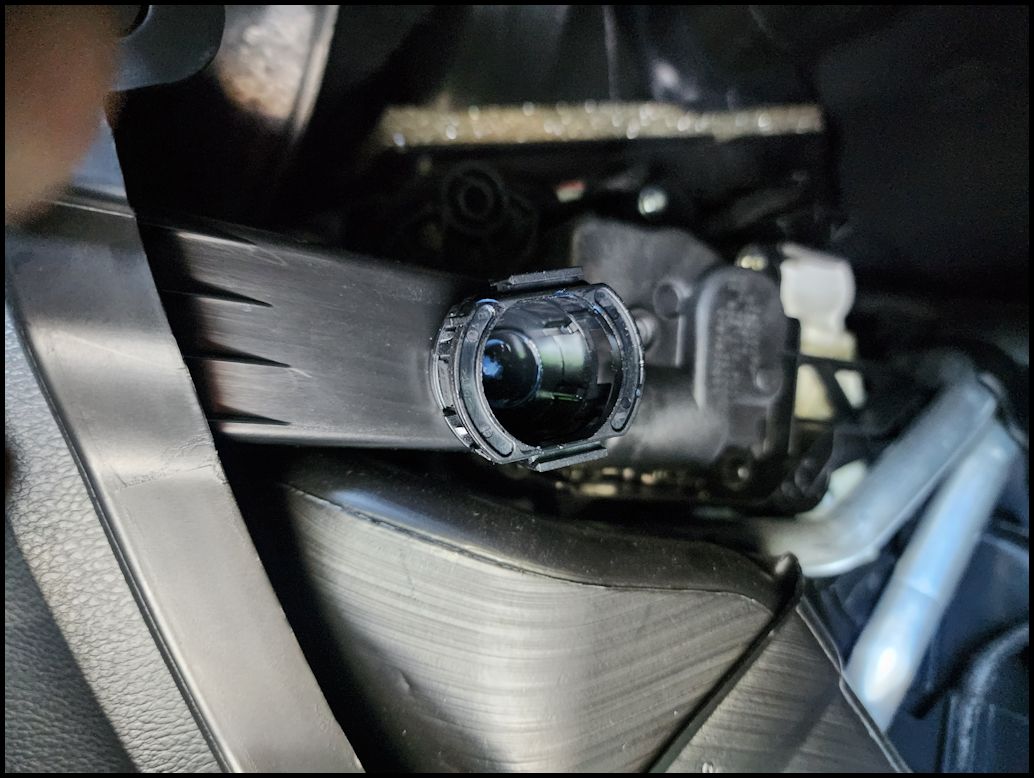
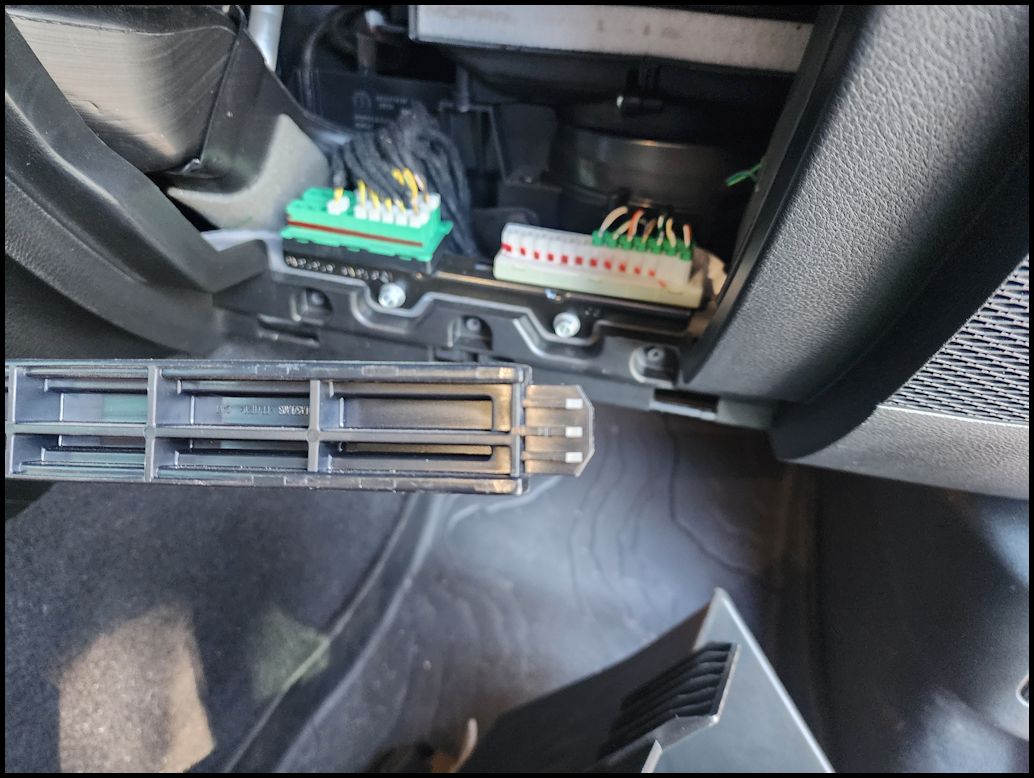
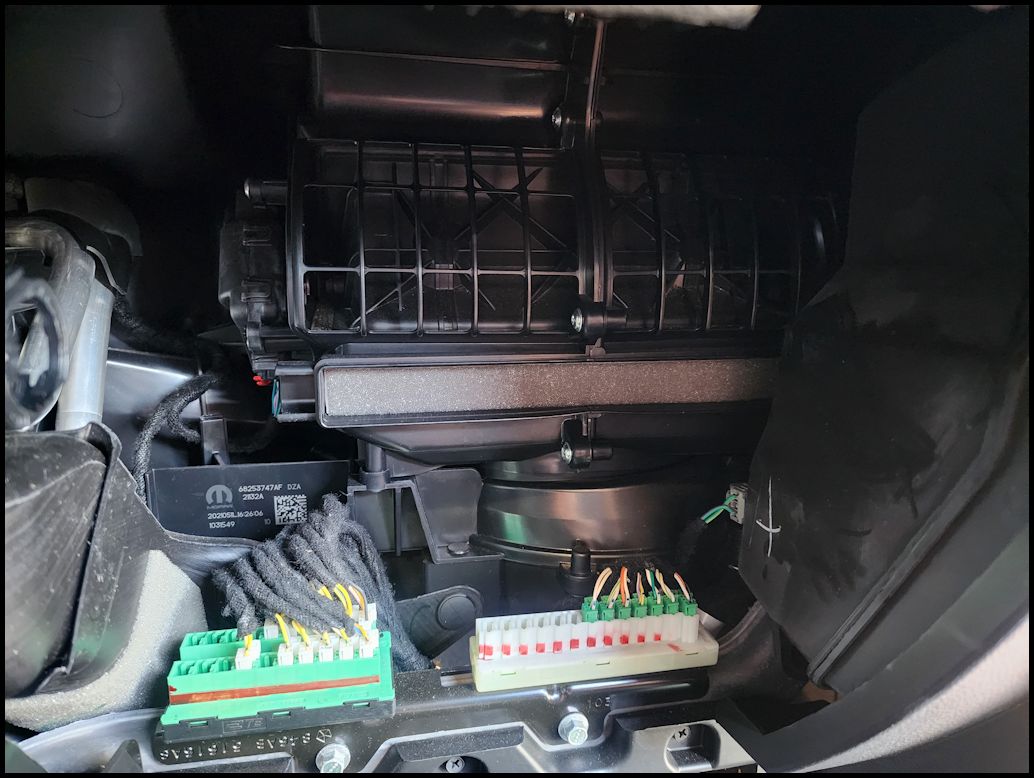
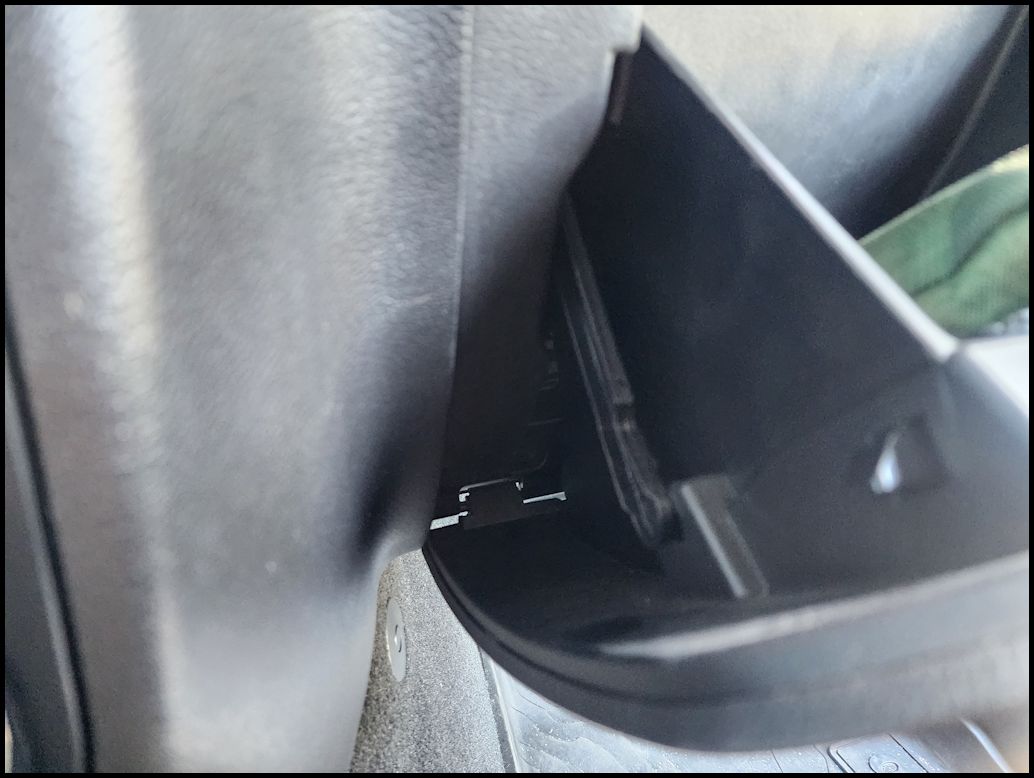
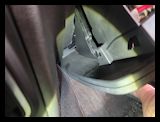
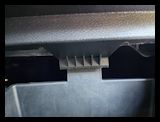
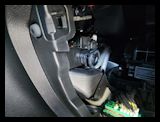
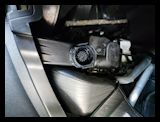
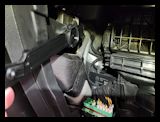
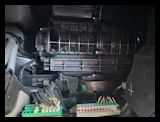
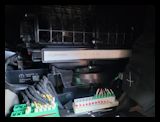
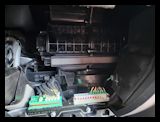
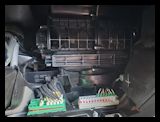
| With the glove box out of the way you can see the HVAC system inside the dash. Below the recirc vents you can see a door lying horizontally with a squeeze tab on the end towards the center of the dash. This is the door that the filter sits behind. |
 |
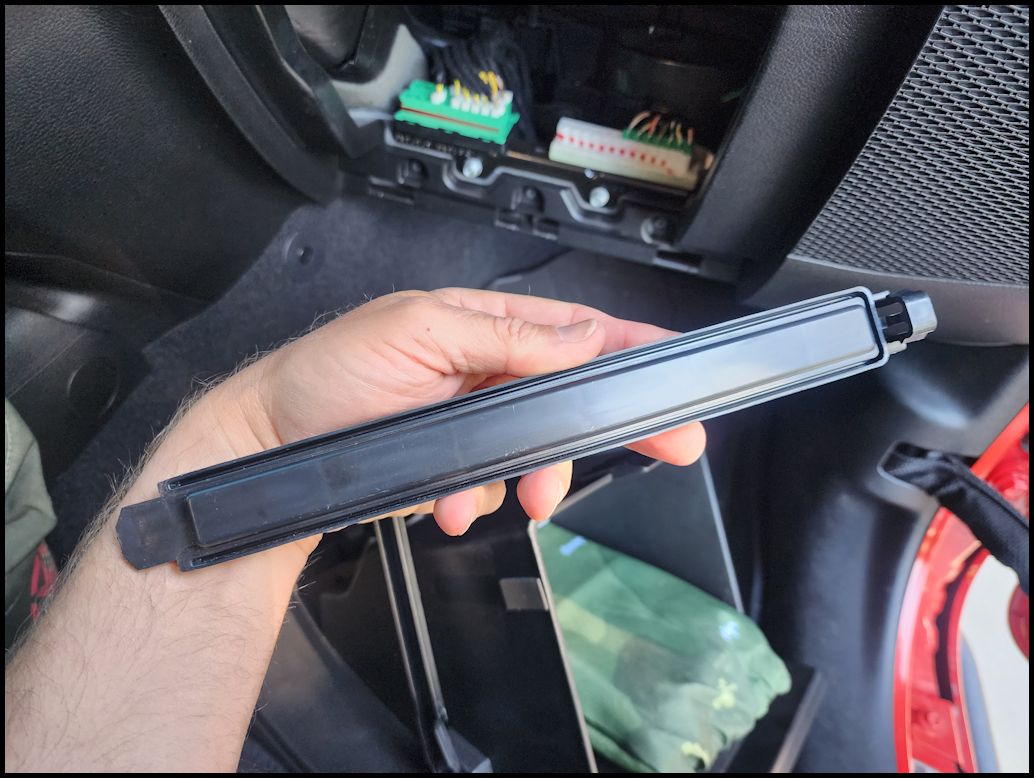
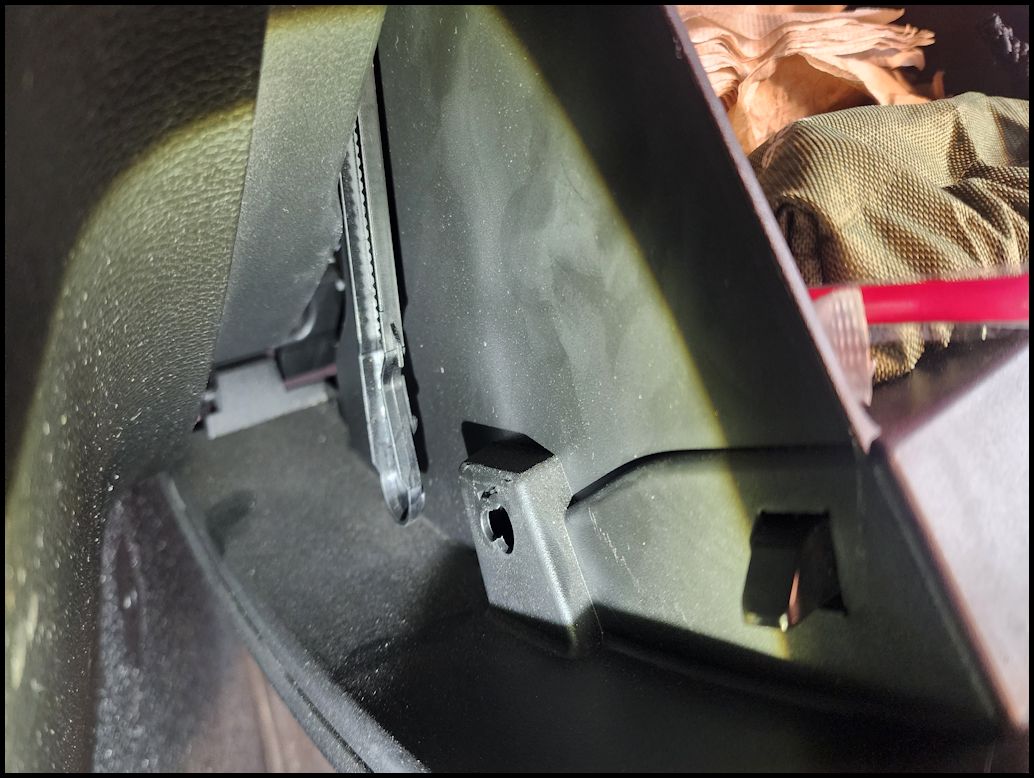
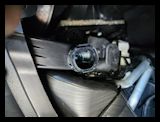
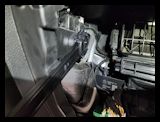
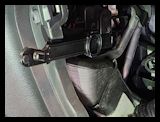
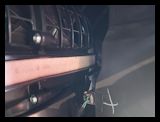
| Squeeze the tab together and pull out to open the cabin air filter door. The door has a tab that sits in a slot on the other end. Slide the door sideways to remove it from it's slot. |
 |
 |
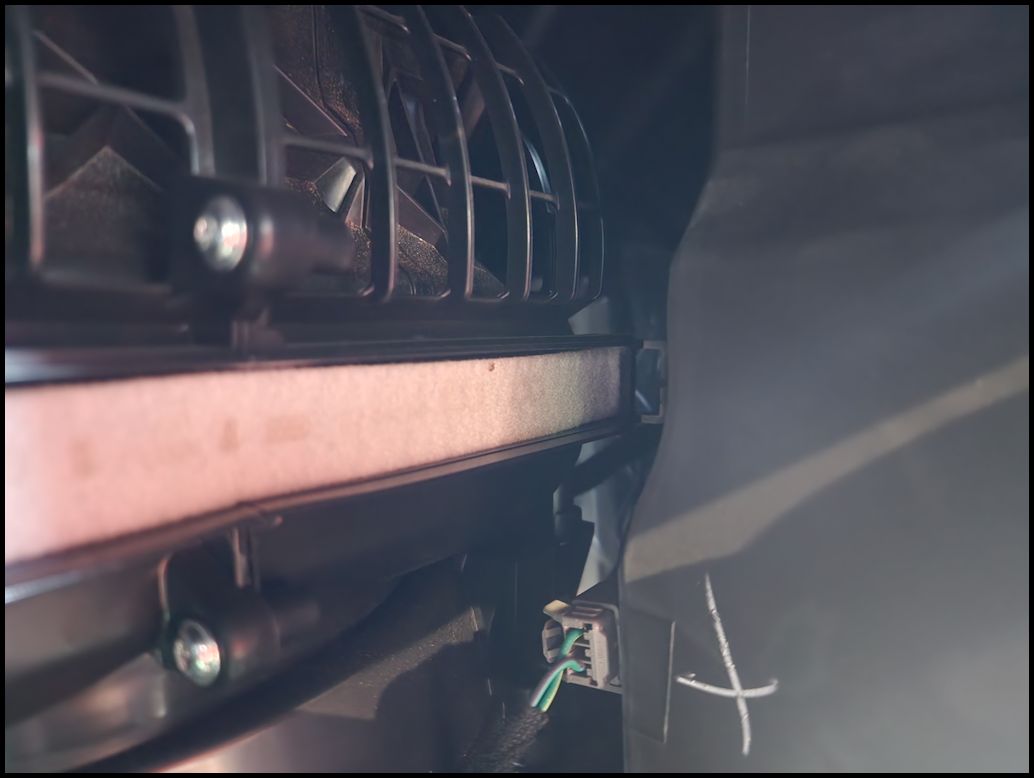
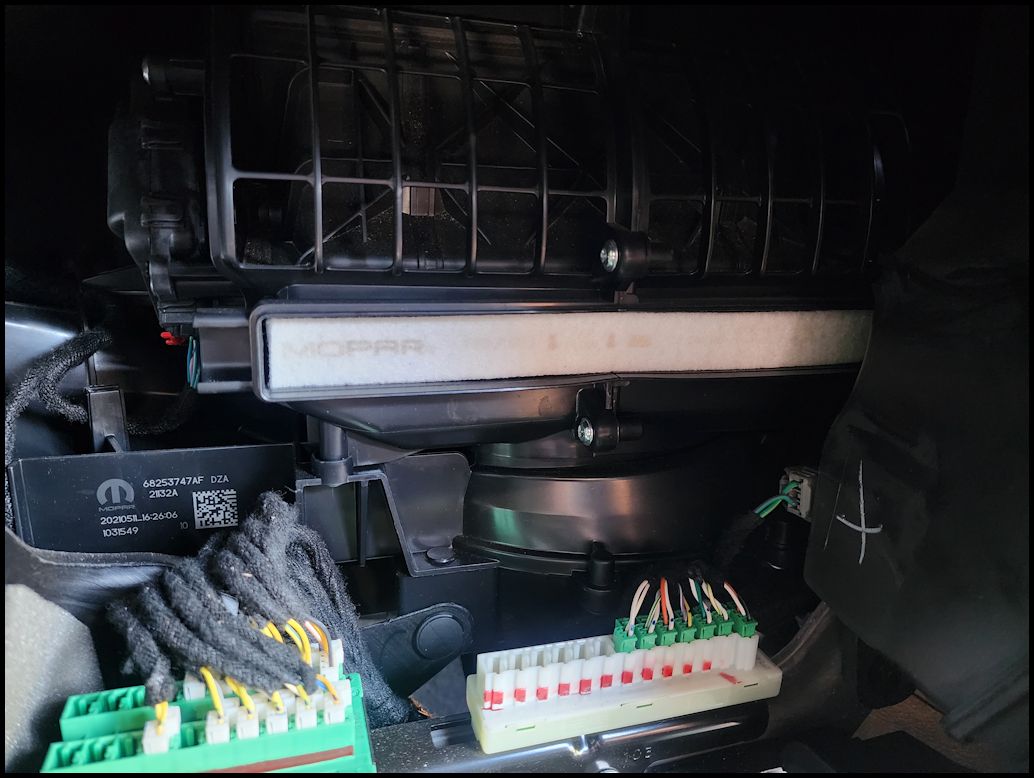
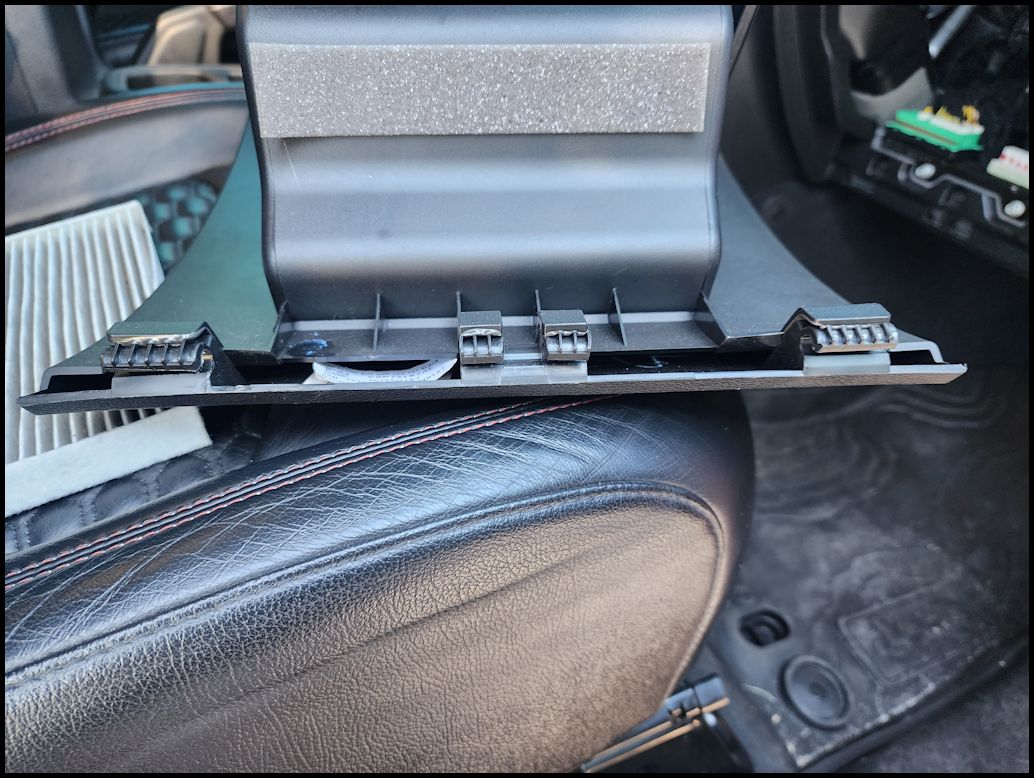
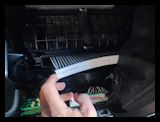
| Now you have access to the air filter. You will need to squeeze and contort the filter to remove it from the filter housing. |
 |
 |
 |
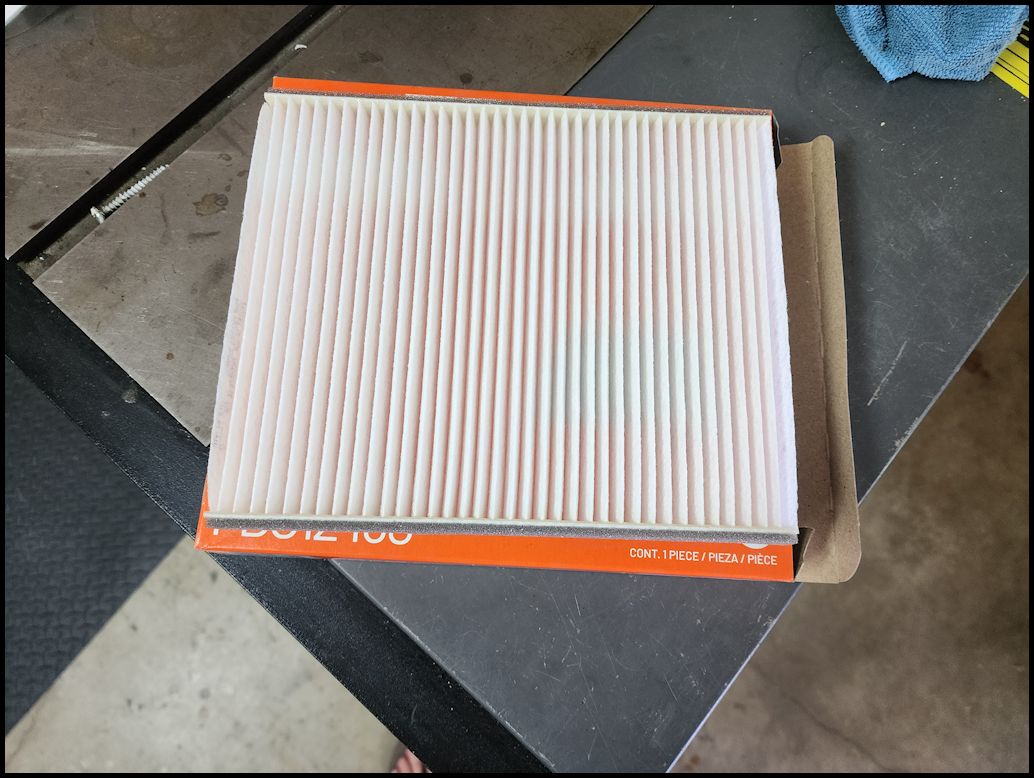
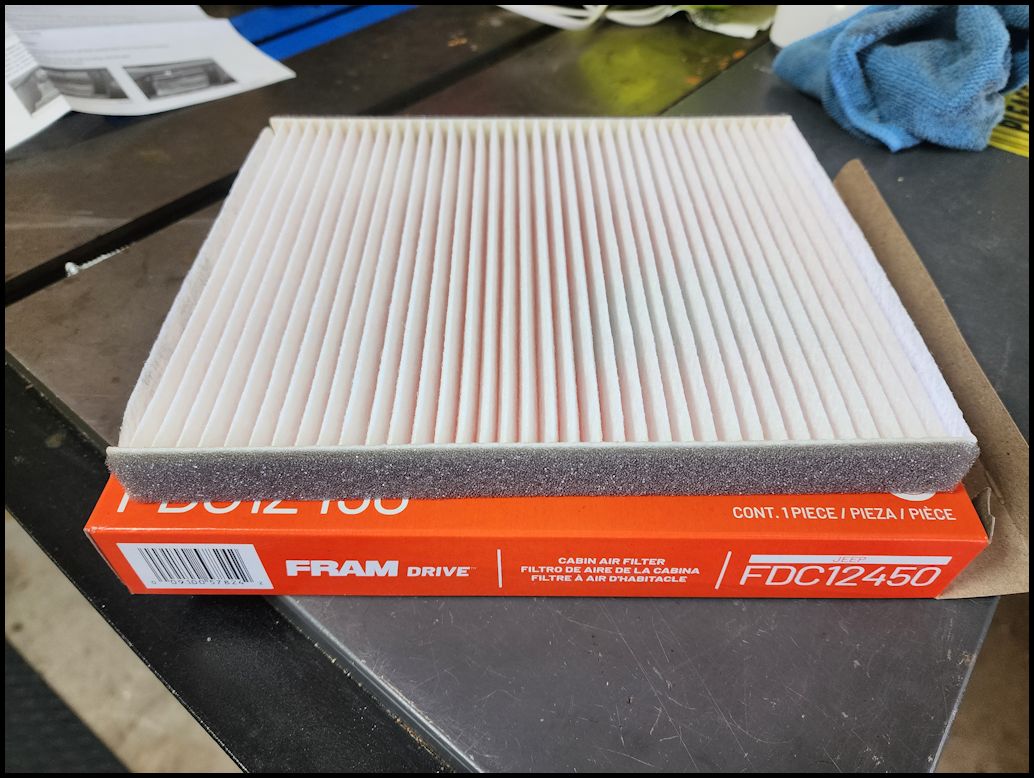
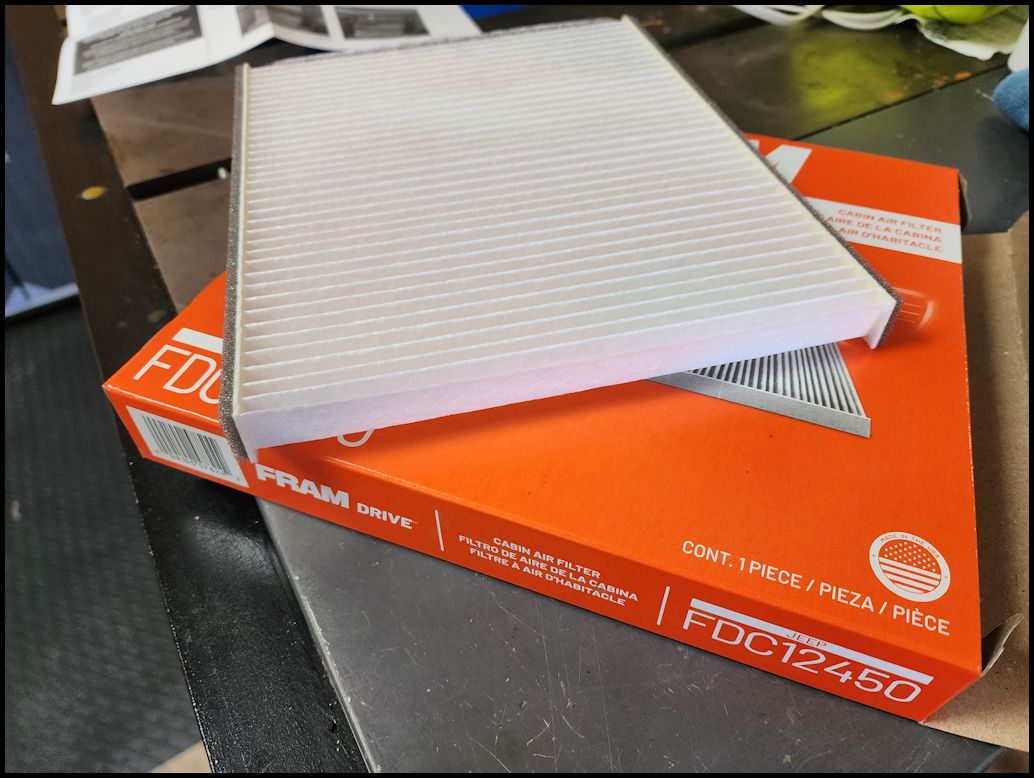
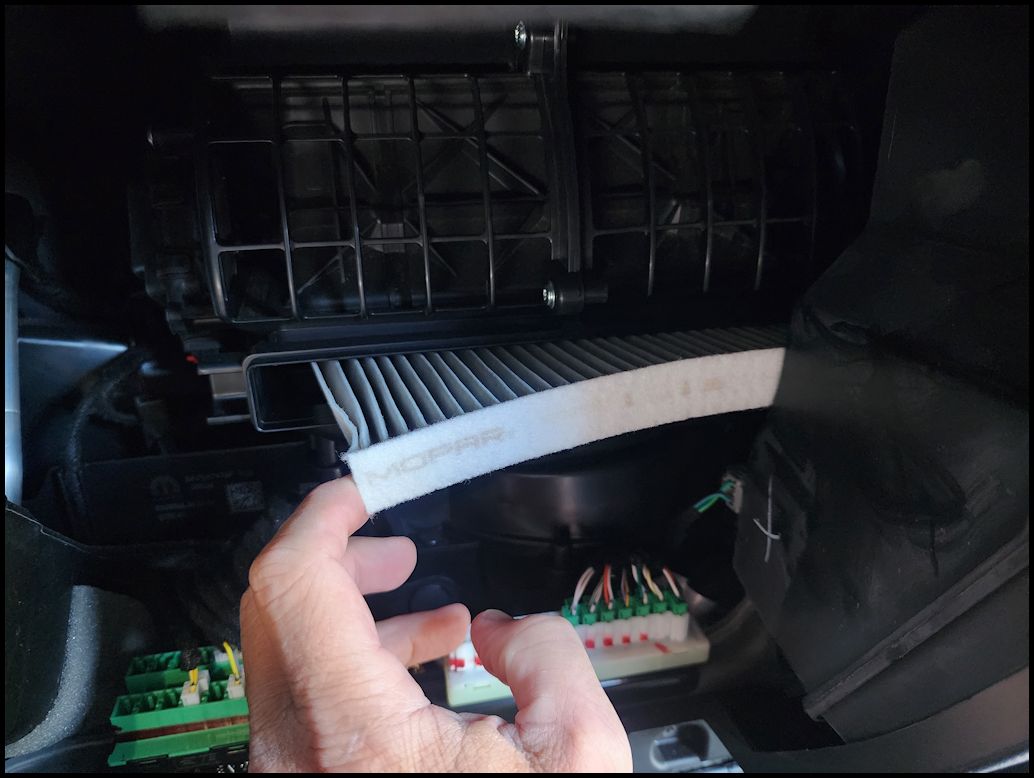
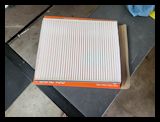
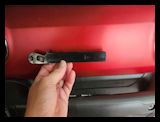
| Old vs. New filter. The Fram filter did have a foam seal on both ends. |
 |
| Install the new air filter into the houseing. You will need to compress and contort this filter to get it in. The air flow arrow on filter should be pointed down towards the fan. |
 |
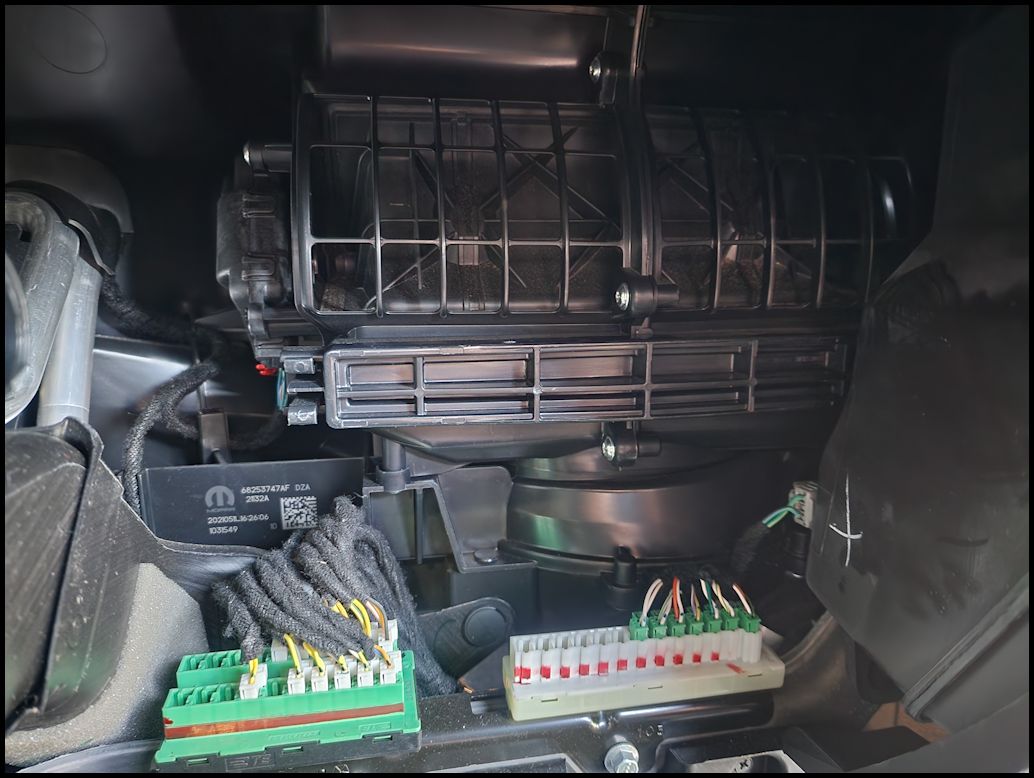
| Reinstall the cabin air filter door. It will press the filter into place. Slide the tab into its slot and then press it closed. |
 |
 |
| Reinstall the glove box door into its slots on the bottom and then lift up into place. Make sure the soft close lever is on the outside along the side of the glove box. Push up on the tab inside the dash and slide the stop of the glove box past it. The glove box will stay in place. |
|
 |
 |
|
| Place the pin of the soft close lever into the glove box and push down into place. |
 |
 |
 |
| |